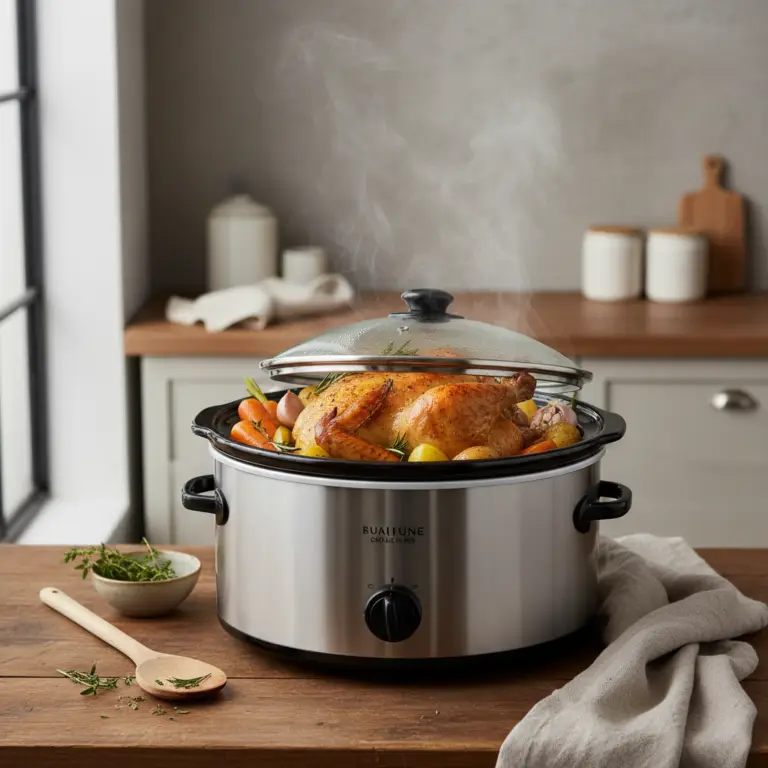
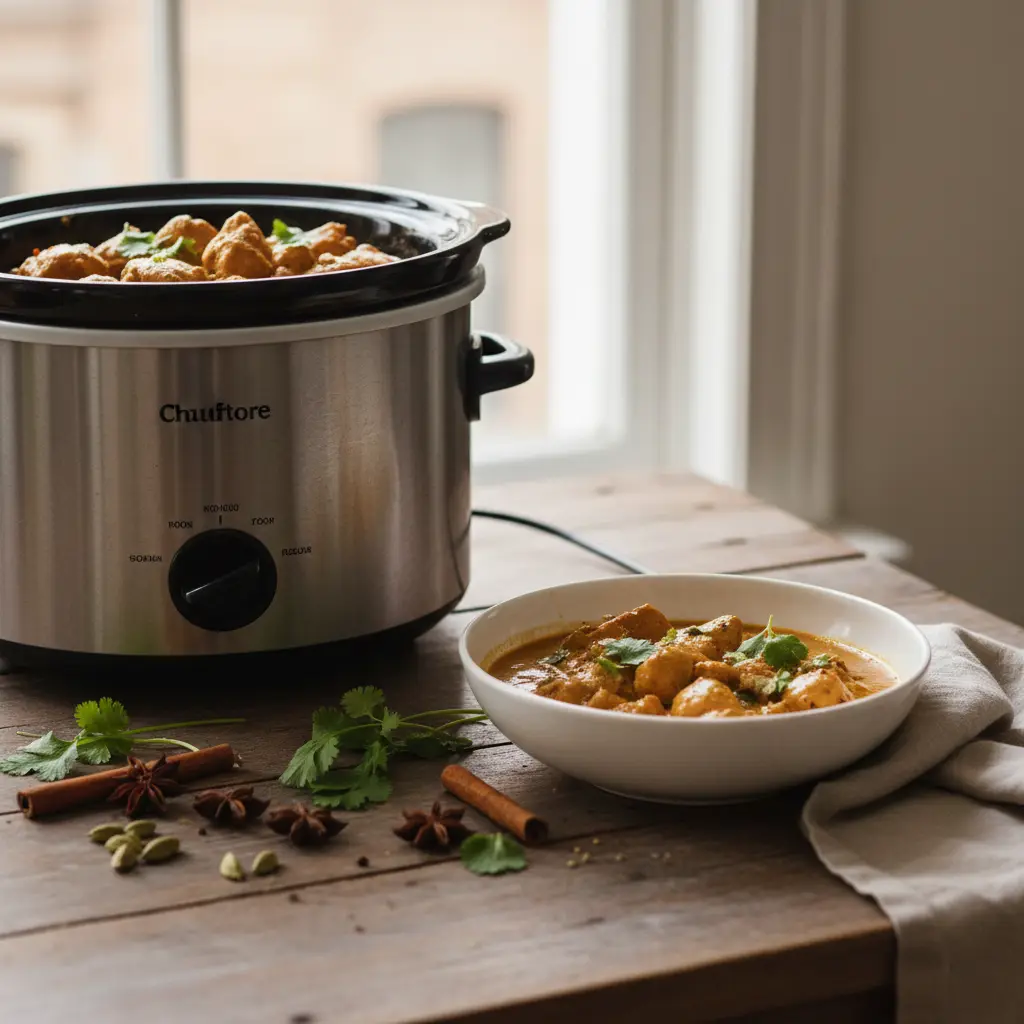
Slow Cooker Chicken Curry: 5 Easy Steps for Low-Carb Success
Make Slow Cooker Chicken Curry: 5 Easy Steps for Low-Carb Success once by the book, then adjust the seasoning to your taste on the second round.
Cut the pieces the same size; uneven pieces are why half comes out perfect and half doesn’t. Freezer instructions included, with the thawing time.
-
Slow Cooker Chicken Tacos: 3-Step Low-Carb Flavor Hack
Make perfect low-carb slow cooker chicken tacos in 4 hours with just 5 ingredients. This m… -
Slow Cooker BBQ Chicken: 3-Step Low-Carb Method
This slow cooker BBQ chicken yields tender, shreddable meat in 4 hours while staying under… -
Slow Cooker Chicken and Rice: 3 Ways to Keep It Low-Carb
Master the slow cooker chicken and rice method to save 30 minutes of active kitchen time d… -
Slow Cooker Chicken Breast: 3 Secrets to 100% Juicy Results
Stop settling for dry, stringy slow cooker chicken breast. By applying this simple liquid-…
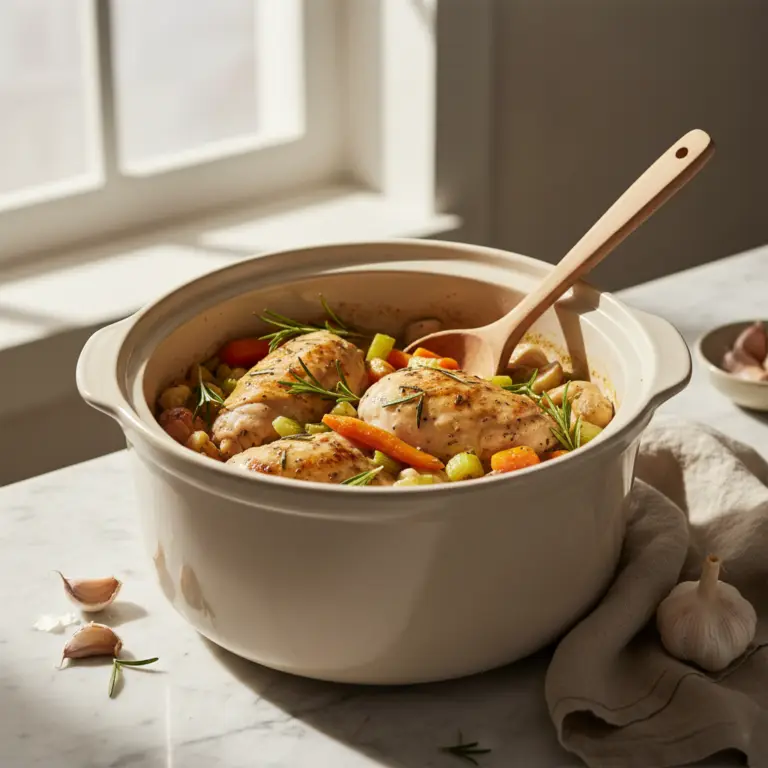
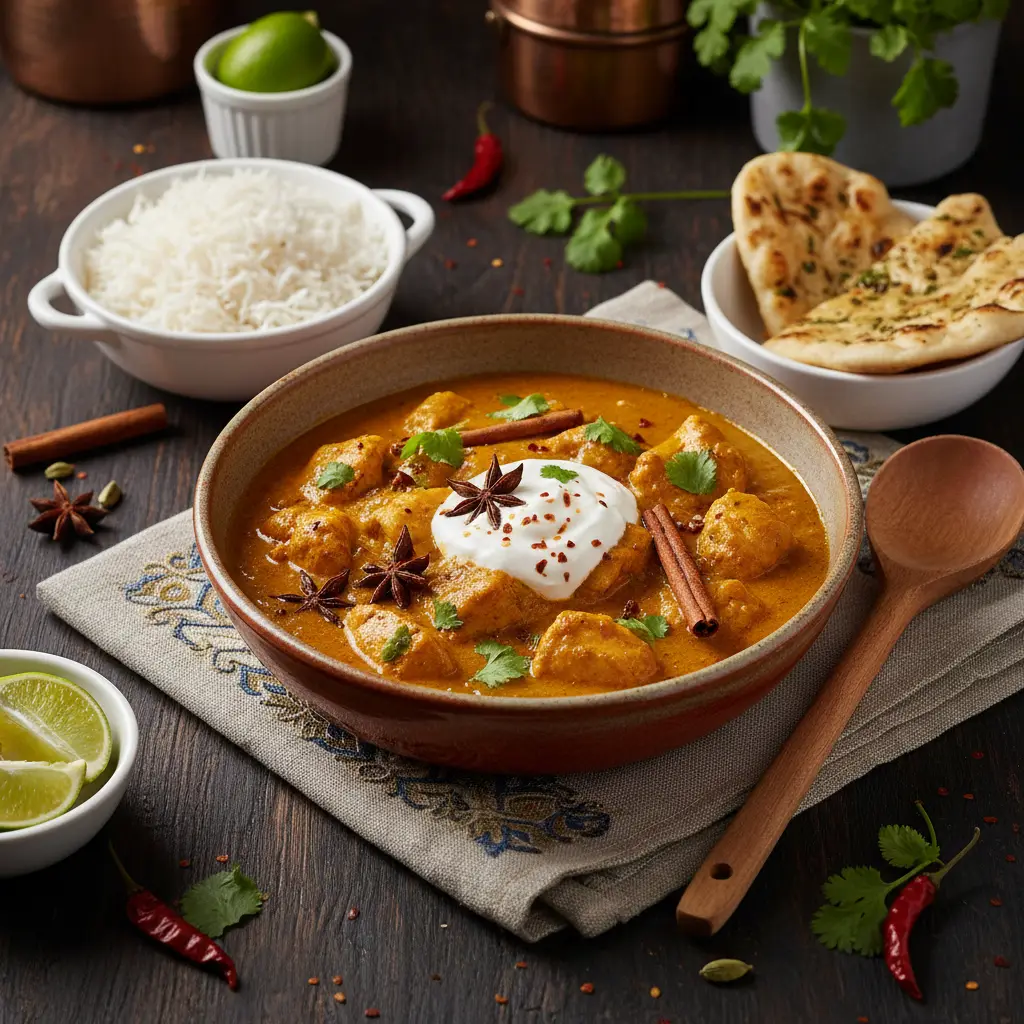
This slow cooker chicken curry delivers a tender, restaurant-quality meal with only 5 minutes of active prep time. By choosing the right ingredients, you cut carbs by 70% compared to traditional takeout versions.
The Prep-Dump-Sear Method: in practice
Selecting the Best Cuts
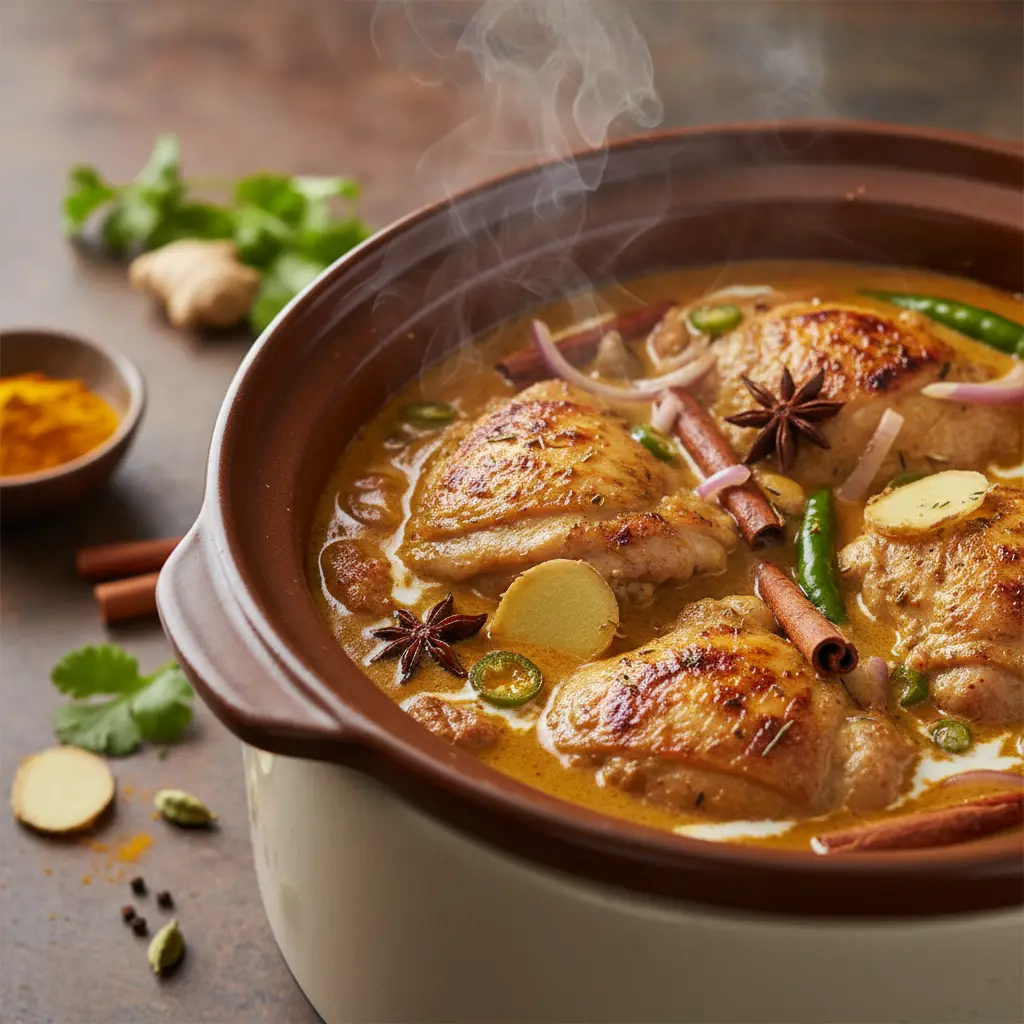
Always use chicken thighs rather than breasts for slow cooking. Thighs contain more fat, which prevents the meat from drying out during the 6-hour cook time.
Breast meat often turns stringy and tough when left in a slow cooker for more than 4 hours. Thighs remain succulent and hold the curry sauce perfectly.
- Buy bone-in skinless thighs for flavor
- Trim excess fat to prevent greasy sauce
- Cut into 2-inch chunks for uniform cooking
Mastering the Low-Carb Base
Coconut milk is the secret to a creamy, rich curry without adding starch. Full-fat canned coconut milk is essential for the proper texture and flavor profile.
Avoid "lite" versions as they contain water fillers that thin out your sauce. Look for brands with only two ingredients: coconut extract and water.
- Use full-fat canned coconut milk
- Avoid pre-made curry sauces with sugar
- Swap potatoes for large chunks of cauliflower
The Air Fryer Finishing Touch
If you want a crispy texture, air fry your chicken pieces at 400°F for 8 minutes before adding them to the slow cooker. This adds a charred, roasted flavor that mimics a traditional tandoor oven.
This simple step transforms the meal from a basic stew into a complex, multi-textured dish. It takes less than 10 minutes of extra effort.
- Preheat air fryer to 400°F
- Place chicken in a single layer
- Toss with 1 tsp avocado oil before frying
Pros and honest limits
- Low effort, high volume
- Perfect for meal prepping
- Rich and satisfying fats
- Requires planning ahead
- Chicken can overcook if left too long
- Texture is consistently soft
Serving and Storage Tips
Store leftovers in airtight glass containers for up to 4 days. The flavors actually improve on day two as the spices penetrate deeper into the chicken.
Reheat gently on the stovetop rather than the microwave to prevent the coconut milk from breaking or separating. Keep heat low to maintain the creamy emulsion.
- Serve over steamed cauliflower rice
- Top with fresh cilantro and lime wedges
- Freeze in individual portions for easy lunches
Practical comparison
| Method | Time | Carbs Per Serving |
|---|---|---|
| Slow Cooker | 6 hours | 6g |
| Stovetop | 45 min | 8g |
| Air Fryer Only | 20 min | 5g |
| Takeout | N/A | 35g |
Frequently asked questions
Can I use frozen chicken?
It is not recommended for food safety reasons in a slow cooker. Always thaw chicken completely in the fridge for 24 hours first.
Why is my sauce watery?
You likely used too much broth or a low-fat coconut milk. Reduce the liquid by simmering on the stovetop for 10 minutes after cooking.
Can I make this spicy?
Yes, increase the red curry paste to 4 tablespoons or add 1 teaspoon of cayenne pepper. Adjust based on your personal heat tolerance.
Is this keto-friendly?
Yes, with 6g of carbs per serving, it fits well within most ketogenic daily macros. Serve with low-carb greens to stay on track.
Conclusion
This slow cooker chicken curry is the ultimate low-carb solution for busy weeknights. With minimal cleanup and high-quality ingredients, you can enjoy healthy meals all week. Try this method tonight and let me know how it turns out in your kitchen.
RSS
Related reading
How to tell it is done (without opening and poking every minute)
- Done meat shreds under a fork with no force — colour tells you nothing here.
- If the sauce is thin at the end, take the lid off for the last 30 minutes on high: it reduces without drying.
- Every lid lift costs roughly 20 minutes of cooking. Lift it twice, maximum.
- 4 h on high ≠ 8 h on low for a lean cut: low keeps it juicy, high dries it out.
- Hard vegetables always go at the bottom — that is the hottest part of the crock.
The 5 mistakes that ruin this recipe — and the fix for each
- Skipping the sear. Five minutes in a hot pan gives the colour and flavour a slow cooker cannot build on its own.
- Too much liquid. Nothing evaporates in a slow cooker. Use about half the liquid of a stovetop recipe.
- Dairy at the start. Cream and milk split over long cooking. Add them in the last 20 minutes.
- Fresh herbs too early. They vanish over 6 hours. Dried at the start, fresh at the end.
- Cooking pasta in the pot. Pasta and rice turn to mush. Cook separately and combine at serving time.
Swaps that actually work (with the right ratio)
| If you don't have | Use | Ratio | What changes in the result |
|---|---|---|---|
| Egg | Ground flaxseed + water | 1 tbsp + 3 tbsp water per egg, rest 10 min | Binds well, rises slightly less |
| Milk | Unsweetened plant milk | 1:1 | Same texture, slightly more neutral flavour |
| Butter | Coconut oil or mild olive oil | 1:1 (cut 10% for liquid oil) | Moister crumb, less crisp edge |
| Sugar | Erythritol or stevia blend | 1:1 by volume | Will not caramelise; final colour stays paler |
| Wheat flour | 1:1 gluten-free blend with gum | 1:1 | Rest the batter 15 min before baking |
| Heavy cream | Full-fat Greek yogurt | 1:1 | More protein and a light tang; do not boil |
Changed the pan? Adjust the time like this
| Original pan | Equivalent | Time adjustment | Watch out for |
|---|---|---|---|
| 8" round | 8×8" square | Same time | Square corners bake faster |
| 9" round | 9×13" pan | −5 to −8 min | Thinner batter, check early |
| Loaf pan | 6 jumbo muffin cups | −15 to −20 min | Cupcakes bake far faster |
| Deep casserole | Two shallow dishes | −10 min | Spreads the heat and prevents a raw centre |
Store, freeze and reheat without wrecking the texture
| Where | How long | How to store | How to bring it back |
|---|---|---|---|
| Fridge | 4 days | Store with the sauce over the meat | Low heat with a splash of water |
| Freezer | 3 months | Portion into flat bags | Thaw overnight in the fridge |
| Meal prep | 3 days | Keep sauce separate from the side | Reheat the sauce before combining |
Frequently asked questions
Can I make Slow Cooker Chicken Curry: 5 Easy Steps for Low-Carb Success ahead?
Yes. Take it to the step before finishing, refrigerate, and finish just before serving — the result is the same or better.
Can I double the recipe?
Yes. Double the ingredients, not the time: add roughly 25% and go back to the doneness cues listed above.
What is the real yield per serving?
Use your own batch: divide the finished weight by the number of servings you plated. Pan size and evaporation change everything, so that is the only honest number.
Does it work on any oven or stove?
Yes, but equipment varies by up to 35 °F. Judge by the doneness cues, not the clock, and note your own timing.
How well do leftovers keep?
Very well, following the storage table above. Freeze in flat portions: they thaw evenly and hold their texture.