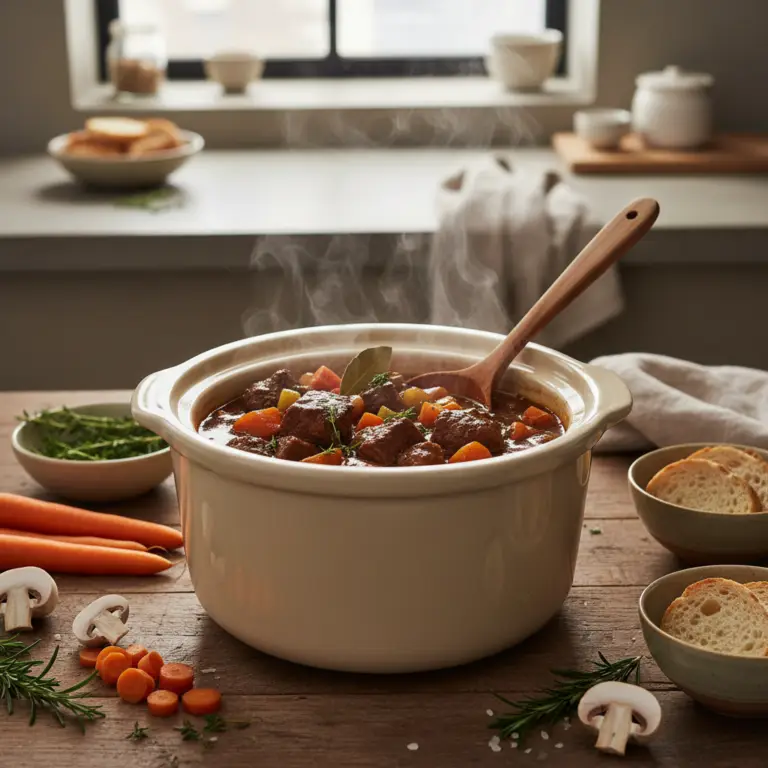
Chuck Roast: The 5-Step Guide to Perfect Low-Carb Pot Roast
Before you start Chuck Roast: The 5-Step Guide to Perfect Low-Carb Pot Roast, read the ingredient notes: two of them decide the final texture.
Weigh the main ingredient if you can; volume measures are where most home versions drift. There’s a short troubleshooting list if something goes off.
-
Chuck Roast vs Beef Bone Broth: 2 Ways to Master Low-Carb Meals
Choosing between chuck roast and bone broth defines your weekly low-carb meal prep. I have… -
Beef Bone Broth: 5 Simple Steps to Liquid Gold
Beef bone broth is a keto powerhouse, providing 10g of protein per 8oz serving. Follow thi… -
Slow Cooker Brisket: 1 Foolproof Method for Perfect Results
Master succulent slow cooker brisket in 8 hours with this low-carb approach. You will achi… -
Slow Cooker Beef Stew: 3 Secrets for Low-Carb Success
Master the perfect bowl of low-carb slow cooker beef stew. This method cuts cooking time b…
Mastering the chuck roast is the best way to get tender, flavorful meat for under $6 per pound. This guide will show you how to transform a tough cut into a melt-in-your-mouth meal that fits your macros perfectly, saving you hours of kitchen stress.
The Slow-Sear Method: in practice
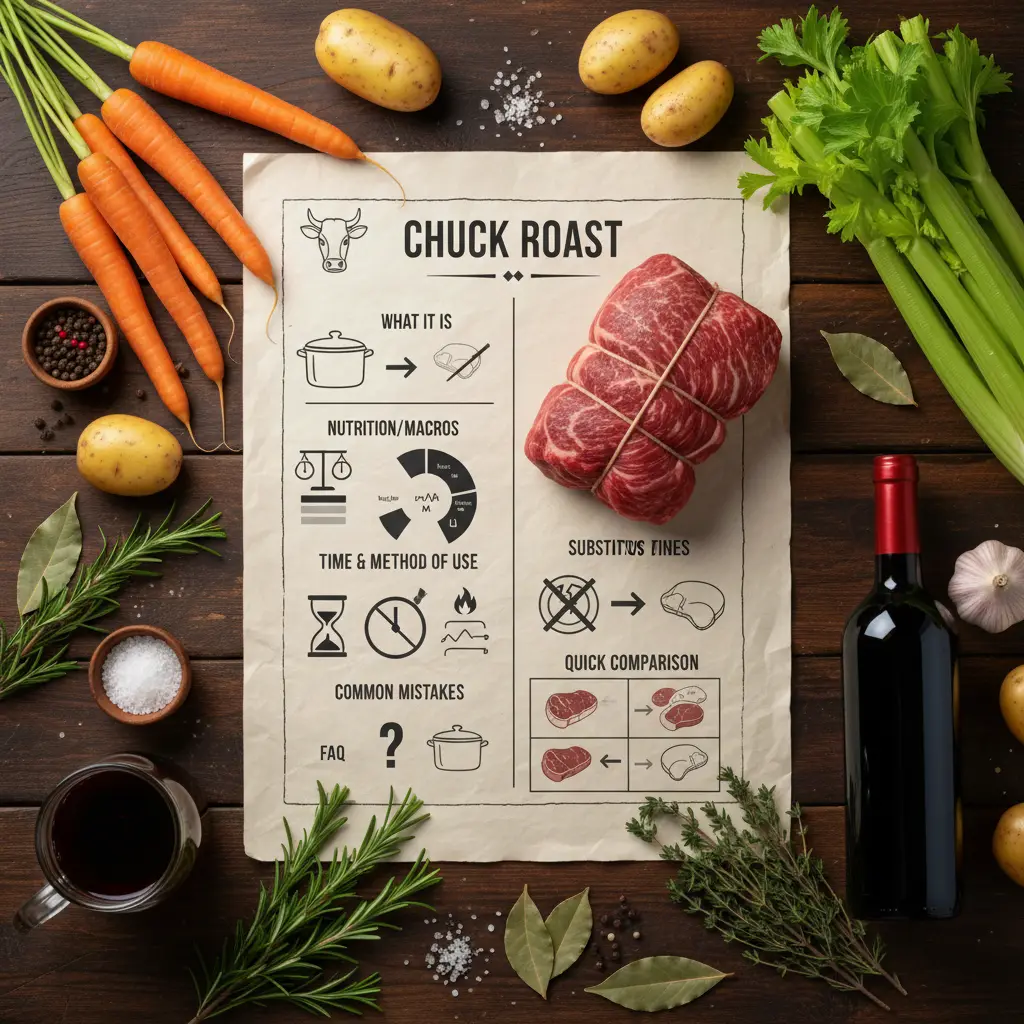
What is Chuck Roast and Why It Works
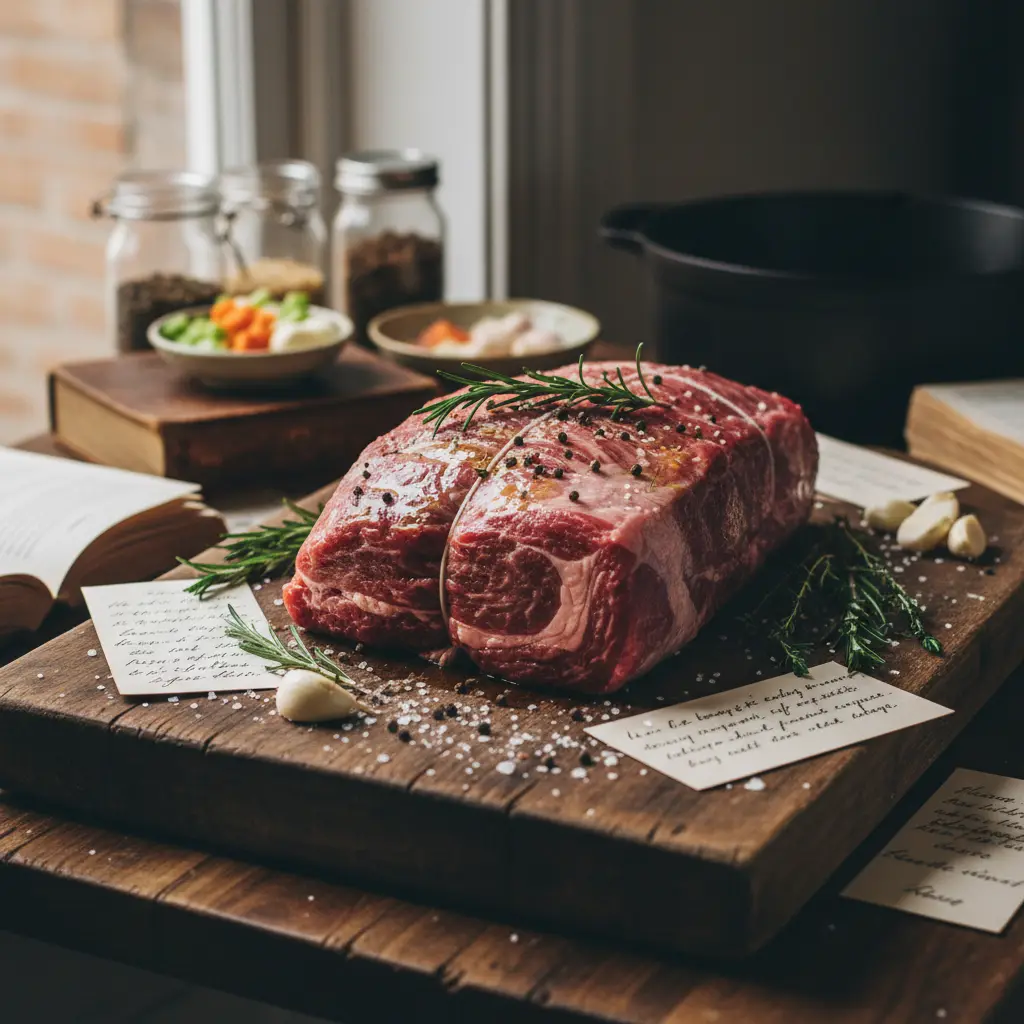
Chuck roast comes from the shoulder area of the cow. It is loaded with connective tissue and intramuscular fat, which makes it ideal for long, slow cooking.
When cooked properly, the collagen breaks down into gelatin. This gives the meat a rich, buttery texture that is impossible to get with leaner cuts of beef.
- Contains medium fat content for satiety.
- Perfect for low-carb diets due to zero net carbs.
- Highly cost-effective compared to steaks like ribeye.
Essential Cooking Techniques
The secret to a great roast is patience. If you rush the cooking process, the connective tissue stays tough and chewy.
Always aim for an internal temperature of 195°F to 205°F if you want to shred the meat easily with a fork.
- Use a liquid base like beef bone broth for flavor.
- Keep the lid tight to trap moisture for the duration of the cook.
- Rest the roast for 15 minutes before pulling it apart.
Substitutions and Similar Cuts
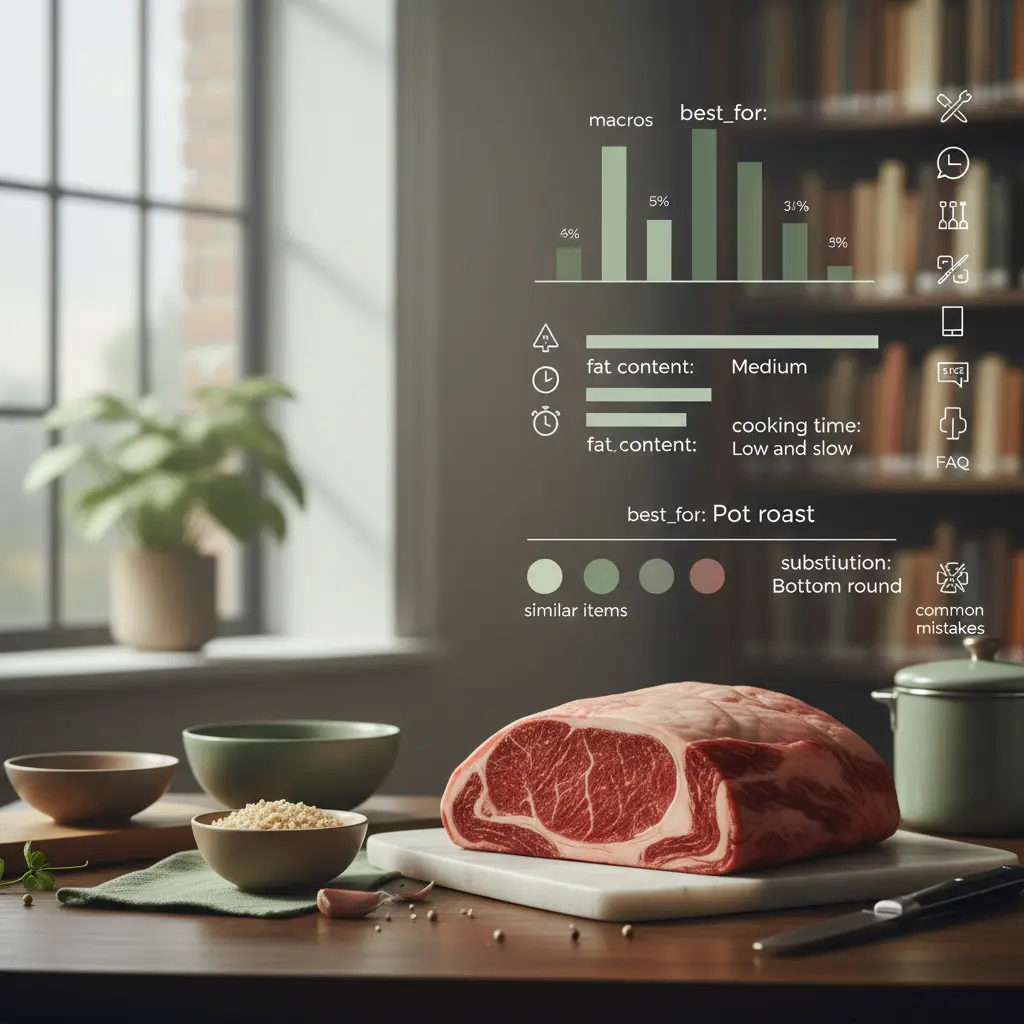
If your local store is out of chuck roast, you have options. Bottom round is the most common substitute, though it is leaner and requires more liquid.
Brisket is another excellent choice, though it often costs 30% more per pound. It offers a similar structure but with a slightly different flavor profile.
- Bottom round is a great, cheaper alternative.
- Brisket works well if you have more time to cook.
- Avoid using sirloin as it will dry out during long braising.
Pros and honest limits
- Extremely budget-friendly
- High in satiating fat
- Perfect for shredding
- Requires long cook time
- High connective tissue
- Not for quick meals
Storage and Meal Prep Tips
Chuck roast is fantastic for meal prep because it tastes even better the next day. The flavors continue to meld as it sits in the fridge.
You can keep leftovers in an airtight container for up to 4 days. It also freezes perfectly for up to 3 months if stored in heavy-duty bags.
- Portion into 6 oz servings for easy calorie counting.
- Reheat gently at 300°F with a splash of broth.
- Freeze with the cooking juices to prevent drying out.
Practical comparison
| Cut | Fat Level | Best Method |
|---|---|---|
| Chuck Roast | Medium | Pot Roast |
| Bottom Round | Low | Slow Braise |
| Brisket | High | Smoke/Braise |
| Sirloin | Low | Grill/Sear |
Frequently asked questions
Can I cook chuck roast in the air fryer?
It is not recommended for a whole roast because the air fryer dries out the exterior before the inside is tender. Use a slow cooker or oven instead.
How do I know when it is done?
Use a meat thermometer to check for 195°F internally. If the fork slides in and out like butter, it is ready.
Is chuck roast keto-friendly?
Yes, it contains zero carbohydrates. It is a staple in many low-carb diets due to the healthy fat content.
Why is my roast tough?
You likely didn't cook it long enough or at a high enough temperature to break down the collagen. Add more liquid and cook for another 30 minutes.
Conclusion
Chuck roast is the backbone of a successful low-carb kitchen. By using the slow-sear method, you ensure a tender, delicious dinner every time without breaking the bank. Give this method a try this weekend and let me know how it turned out in the comments!
📡 RSS
Related reading
How to tell it is done (without opening and poking every minute)
- Done meat shreds under a fork with no force — colour tells you nothing here.
- If the sauce is thin at the end, take the lid off for the last 30 minutes on high: it reduces without drying.
- Every lid lift costs roughly 20 minutes of cooking. Lift it twice, maximum.
- 4 h on high ≠ 8 h on low for a lean cut: low keeps it juicy, high dries it out.
- Hard vegetables always go at the bottom — that is the hottest part of the crock.
The 5 mistakes that ruin this recipe — and the fix for each
- Skipping the sear. Five minutes in a hot pan gives the colour and flavour a slow cooker cannot build on its own.
- Too much liquid. Nothing evaporates in a slow cooker. Use about half the liquid of a stovetop recipe.
- Dairy at the start. Cream and milk split over long cooking. Add them in the last 20 minutes.
- Fresh herbs too early. They vanish over 6 hours. Dried at the start, fresh at the end.
- Cooking pasta in the pot. Pasta and rice turn to mush. Cook separately and combine at serving time.
Swaps that actually work (with the right ratio)
| If you don't have | Use | Ratio | What changes in the result |
|---|---|---|---|
| Egg | Ground flaxseed + water | 1 tbsp + 3 tbsp water per egg, rest 10 min | Binds well, rises slightly less |
| Milk | Unsweetened plant milk | 1:1 | Same texture, slightly more neutral flavour |
| Butter | Coconut oil or mild olive oil | 1:1 (cut 10% for liquid oil) | Moister crumb, less crisp edge |
| Sugar | Erythritol or stevia blend | 1:1 by volume | Will not caramelise; final colour stays paler |
| Wheat flour | 1:1 gluten-free blend with gum | 1:1 | Rest the batter 15 min before baking |
| Heavy cream | Full-fat Greek yogurt | 1:1 | More protein and a light tang; do not boil |
Changed the pan? Adjust the time like this
| Original pan | Equivalent | Time adjustment | Watch out for |
|---|---|---|---|
| 8" round | 8×8" square | Same time | Square corners bake faster |
| 9" round | 9×13" pan | −5 to −8 min | Thinner batter, check early |
| Loaf pan | 6 jumbo muffin cups | −15 to −20 min | Cupcakes bake far faster |
| Deep casserole | Two shallow dishes | −10 min | Spreads the heat and prevents a raw centre |
Store, freeze and reheat without wrecking the texture
| Where | How long | How to store | How to bring it back |
|---|---|---|---|
| Fridge | 4 days | Store with the sauce over the meat | Low heat with a splash of water |
| Freezer | 3 months | Portion into flat bags | Thaw overnight in the fridge |
| Meal prep | 3 days | Keep sauce separate from the side | Reheat the sauce before combining |
Frequently asked questions
Can I make Chuck Roast: The 5-Step Guide to Perfect Low-Carb Pot Roast ahead?
Yes. Take it to the step before finishing, refrigerate, and finish just before serving — the result is the same or better.
Can I double the recipe?
Yes. Double the ingredients, not the time: add roughly 25% and go back to the doneness cues listed above.
What is the real yield per serving?
Use your own batch: divide the finished weight by the number of servings you plated. Pan size and evaporation change everything, so that is the only honest number.
Does it work on any oven or stove?
Yes, but equipment varies by up to 35 °F. Judge by the doneness cues, not the clock, and note your own timing.
How well do leftovers keep?
Very well, following the storage table above. Freeze in flat portions: they thaw evenly and hold their texture.